From Functions to Tools: Unlocking Tool Calling with Vercel AI SDK
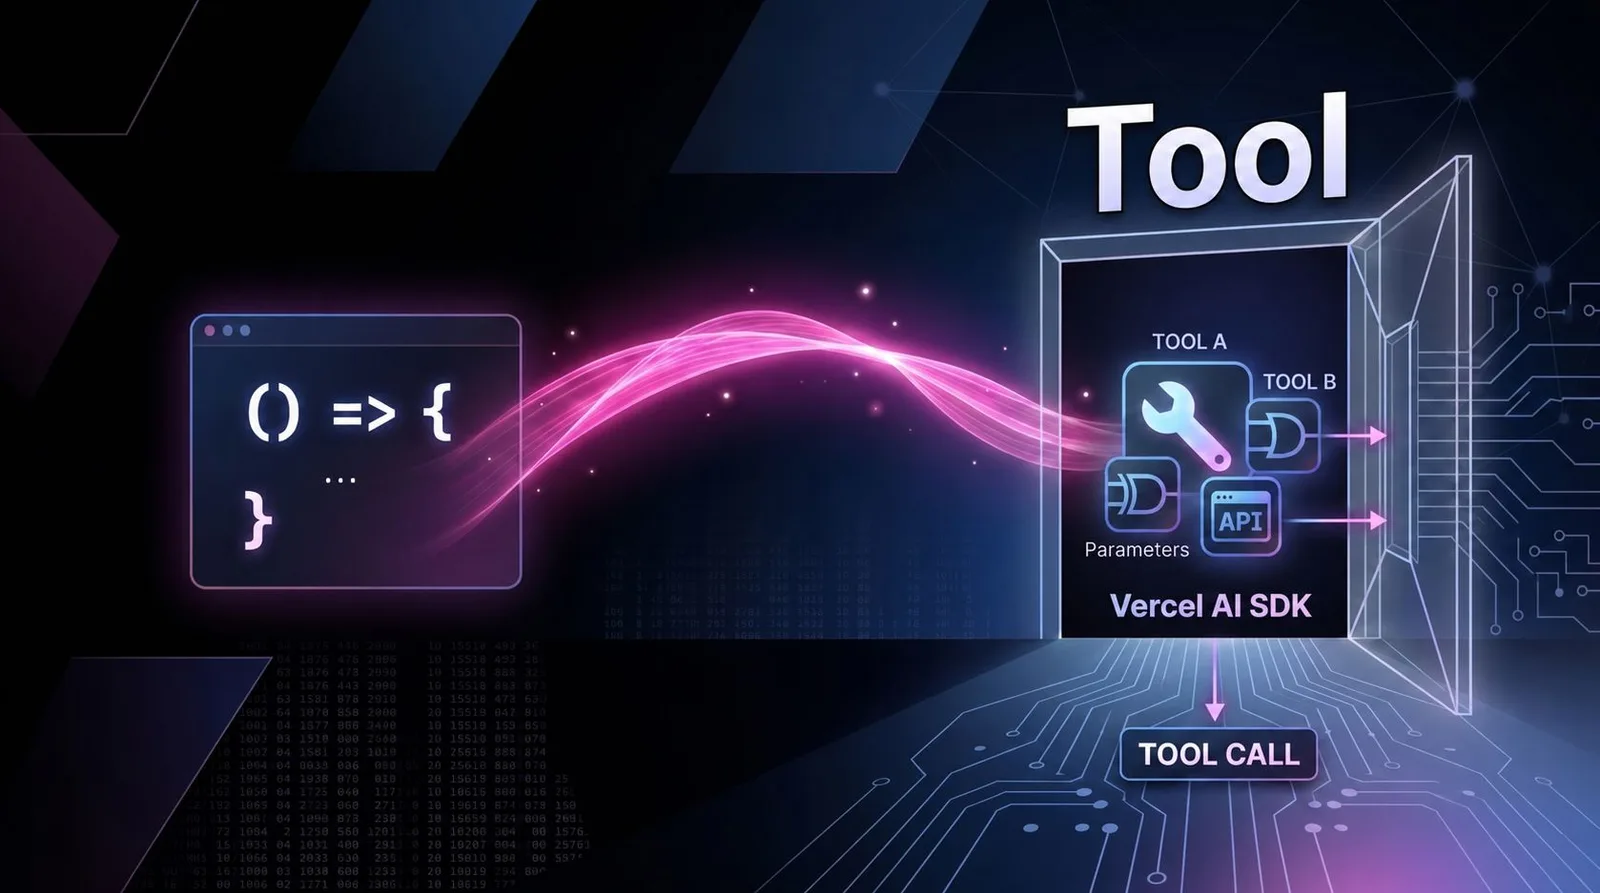
If you're already comfortable writing API Routes in Next.js and calling third-party APIs, you're just half a step away from building a large model assistant that can call its own interfaces: wrap those functions as Tools, and let the model decide when to use them.
In this article, we won't dive into big words like MCP or Agent frameworks. We'll do just one thing:
Help you go from "writing a normal function" to "writing a Tool that can be called by a large model", while explaining the mental model behind it.
After reading this, you should be able to:
Understand what a Tool is in the Vercel AI SDK and how it differs from a normal function.
Write a minimal working Tool and run it in Next.js.
Know how to design a Tool's parameters and return values so the model can use your code better.
Roughly understand: for now, just using Tools can handle many apps; protocols like MCP can be left for later.
1. Why do we need this "Tool" layer?
First, imagine a simple requirement: you want to build a "weather check chatbot".
The most naive approach is:
The user types "Check today's weather in Beijing for me."
You receive this natural language sentence on the server.
You write some if/else or regex to extract the city name.
Call a weather API to get the result.
Stuff the result back into a prompt and have the model compose a reply for the user.
This approach works, but has obvious problems:
The logic is hardcoded in your code; the model is just a fancy template engine.
Every time you add a feature (check exchange rates, check schedule), you have to write more parsing + calling logic.
The model has no idea what capabilities are available; you have to guide it step by step.
The Tool layer elevates that "if/else + API call" into a capability visible to the model.
In other words:
You write a function, defining "what I can do", "what parameters I need", and "what I will return".
You tell the model: these are the tools you can call.
The model decides, based on user input, whether to call which tool and what parameters to pass.
This abstraction is exactly what the Vercel AI SDK's Tool provides.
2. What is a Tool in the Vercel AI SDK?
You can think of a Tool as:
A "function with instructions" — the instructions are for the model, the function body is for your own code.
In the Vercel AI SDK, a Tool typically contains three pieces of information:
description: A one-line explanation of what this tool does.parameters: Describes the required input using JSON Schema (or Zod).execute: The actual function to execute, e.g., calling an HTTP API or querying a database.
It looks something like this (pseudocode to give you a feel for the definition):
import { tool } from 'ai';

const getWeather = tool({
  description: '查询指定城市的实时天气',
  parameters: {
    type: 'object',
    properties: {
      city: { type: 'string', description: '城市名称,比如 Beijing' },
    },
    required: ['city'],
  },
  execute: async ({ city }) => {
    // 这里就是你平时会写的业务代码
    const res = await fetch(`https://api.example.com/weather?city=${city}`);
    return await res.json();
  },
});
Then, when calling the model, you pass this getWeather to the AI SDK:
The SDK handles converting the
descriptionandparametersinto a "tool list" that the model understands.While understanding the user's intent, the model will think: "Should I use getWeather? If so, what
cityshould I pass?"Once the model decides to call it, the SDK feeds the arguments to
execute, gets the result, and continues for the model to generate the final response.
You no longer have to write the logic for "parsing the city name" and "deciding when to call the API" yourself — you hand over the initiative to the model.
3. A Minimal Working Example of a Tool
Let's write a truly minimal runnable example: get the current time.
3.1 Define a Simple Tool
Assume you already have the ai package (Vercel AI SDK) installed in your Next.js project. On the server, we create a simple Tool:
// app/api/chat/tools.ts
import { tool } from 'ai';

export const getCurrentTime = tool({
  description: '获取当前服务器时间(ISO 字符串)',
  parameters: {
    type: 'object',
    properties: {},
  },
  async execute() {
    return {
      now: new Date().toISOString(),
    };
  },
});
A few points to note:
parametersis an empty object: this tool requires no input.executereturns an object{ now: string }rather than a plain string, making it easier for structured processing later (e.g., frontend display, further computation).
3.2 Using the Tool in an API Route
Next, we write a very simple chat API that allows the model to call this Tool during a conversation. The specific API call details may vary slightly by version; here we focus on the "structure" and "approach". The pseudocode looks something like this:
// app/api/chat/route.ts
import { NextRequest } from 'next/server';
import { streamText } from 'ai'; // 假设使用 AI SDK 的某个调用方法
import { getCurrentTime } from './tools';
import { openai } from '@ai-sdk/openai';

export async function POST(req: NextRequest) {
  const { messages } = await req.json();

  const response = await streamText({
    model: openai('gpt-4o'), // 你选的模型
    messages,
    tools: {
      getCurrentTime,
    },
  });

  return response.toAIStreamResponse();
}
Key points here:
The
toolsfield exposes your Tool to the model.After receiving the user's message, if the model determines it needs the current time, it will "initiate a call to getCurrentTime", and the SDK will automatically execute the
executefunction.The result of the Tool call is fed back to the model, allowing it to generate the final response based on the time.
3.3 A Simple Frontend Chat Interface
On the frontend, you can use a hook like useChat to build a minimal chat UI. This part isn't the focus of this article, so we won't elaborate. The important thing is: from the frontend's perspective, it's no different from a regular Chat API — except the model can now "look up the time" on its own.
4. The Essential Difference Between a Tool and a Normal Function
At this point you might ask: couldn't I just write new Date().toISOString() directly in the route to get the time? Why go through the trouble of a Tool?
The key difference is who makes the decision:
Normal function: you call it explicitly in your business code; you decide "when to call it".
Tool: you simply "expose" this capability and tell the model "how to use it". Whether to use it and how to use it is left to the model's decision.
This brings several practical benefits:
Less if/else
You don't have to parse natural language, match keywords, or choose branches.
The model decides on its own whether to use a certain Tool based on context.
Supports multiple Tools orchestrated automatically
Define multiple tools (check time, check weather, check schedule); the model can call them as needed within a single conversation.
As the number of tools grows, you don't need to maintain a bunch of "business routing tables"; the model figures it out itself.
Cross-model consistency
Different model providers have different Tool / Function Calling interfaces; the AI SDK unifies these details for you.
You only need to maintain one set of Tool definitions to switch between different models.
You can think of Tool as:
Adding a layer of "functions with structured metadata" between the model and your code, making the pipeline both intelligent and controllable.
5. Designing a Good Tool: Parameters and Return Values
Writing a Tool isn't just about "making it work". Good parameter and return value design helps the model use it more reliably and controllably.
5.1 Parameters: Help the Model Be Clear
Follow these small principles when defining parameters:
Use enums when possible: e.g.,
unit: 'celsius' | 'fahrenheit'.Break fields apart instead of combining: don't jam "city+date" into a single string and make the model parse it.
Use
descriptionto give the model examples — it actually reads them (or at least has seen similar patterns during training).
Example:
const getWeather = tool({
  description: '查询指定城市在指定日期的天气',
  parameters: {
    type: 'object',
    properties: {
      city: {
        type: 'string',
        description: '城市名称,比如 Beijing、Shanghai',
      },
      date: {
        type: 'string',
        description: '日期,格式为 YYYY-MM-DD,比如 2025-05-17',
      },
      unit: {
        type: 'string',
        enum: ['celsius', 'fahrenheit'],
        description: '温度单位,默认 celsius',
      },
    },
    required: ['city', 'date'],
  },
  async execute({ city, date, unit = 'celsius' }) {
    // ...
  },
});
5.2 Return Values: Prefer Structured Data over Raw Strings
While you could directly return something like "Beijing today is 25 degrees, sunny" from execute, doing so loses flexibility:
The frontend cannot directly use the result for display or computation.
The model cannot conveniently reuse structured information in subsequent calls.
A better approach is to return a clear object:
async execute({ city, date, unit = 'celsius' }) {
  const data = await fetchWeather(city, date, unit);
  return {
    city,
    date,
    unit,
    temperature: data.temp,
    condition: data.condition, // sunny, cloudy, etc.
  };
}
This way, the model can both compose a natural language response for the user and continue to use these fields in subsequent steps (e.g., calling another Tool).
6. Wiring Up Multiple Tools at Once: Let the Model Choose
Earlier we only used one tool, getCurrentTime. Now let's add another, getWeather, and pass them together to the model.
// app/api/chat/tools.ts
export const tools = {
  getCurrentTime,
  getWeather,
};
When calling the model:
const response = await streamText({
  model: openai('gpt-4o'),
  messages,
  tools,
});
Now if the user says:
"Check tomorrow's weather in Shanghai for me, and if it's sunny, also remind me of the current time."
The model can (logically) do the following:
First call
getWeatherto check if it's sunny.Then call
getCurrentTimeto get the current time.Generate a final response combining the results of both calls.
You don't need to write any "business flow chart" for this logic; just:
Define the tools clearly and define the parameters clearly.
Roughly tell the model in the system prompt: "When you encounter such a need, make good use of the tools."
This is the real power of "Tool calling": you move from "writing flows" to "defining capabilities".
7. Wrapping Up: Master Tools First, Then Consider Protocol Layers
In this article, we did just three things:
Broke down the Tool conceptually: it's a "function with instructions" — the instructions are for the model.
Wrote a minimal Tool example and demonstrated how to use it in a Next.js API Route.
Explained how to design parameters and return values so the model can use your tools better.
With just the Vercel AI SDK's Tool, you can already build:
Internal customer support / ticket assistant.
Smart query / generation features inside SaaS products.
Various business assistants that can "look up", "calculate", or "remember" things.
Andat this stage, you can completely ignore protocol layers like MCP — they mainly solve the problem of "reusing tools across hosts and projects", which is better introduced gradually when the number of tools and the calling environment become more complex.
In the next article, based on "just using Tools", we'll specifically discuss: when tools increase and the calling environment gets more complex, what boundaries and pain points arise from relying solely on Tools, and why protocols like MCP emerge.
Follow on Google
Add HeyBinyang as a preferred source on Google
If you'd like to keep finding my updates through Google, you can mark this site as a preferred source and make it easier to spot in relevant reading flows.
SHARE
Share
Share this article.