A Beginner's Guide to Kamal2: The VPS Deployment Tool I Use
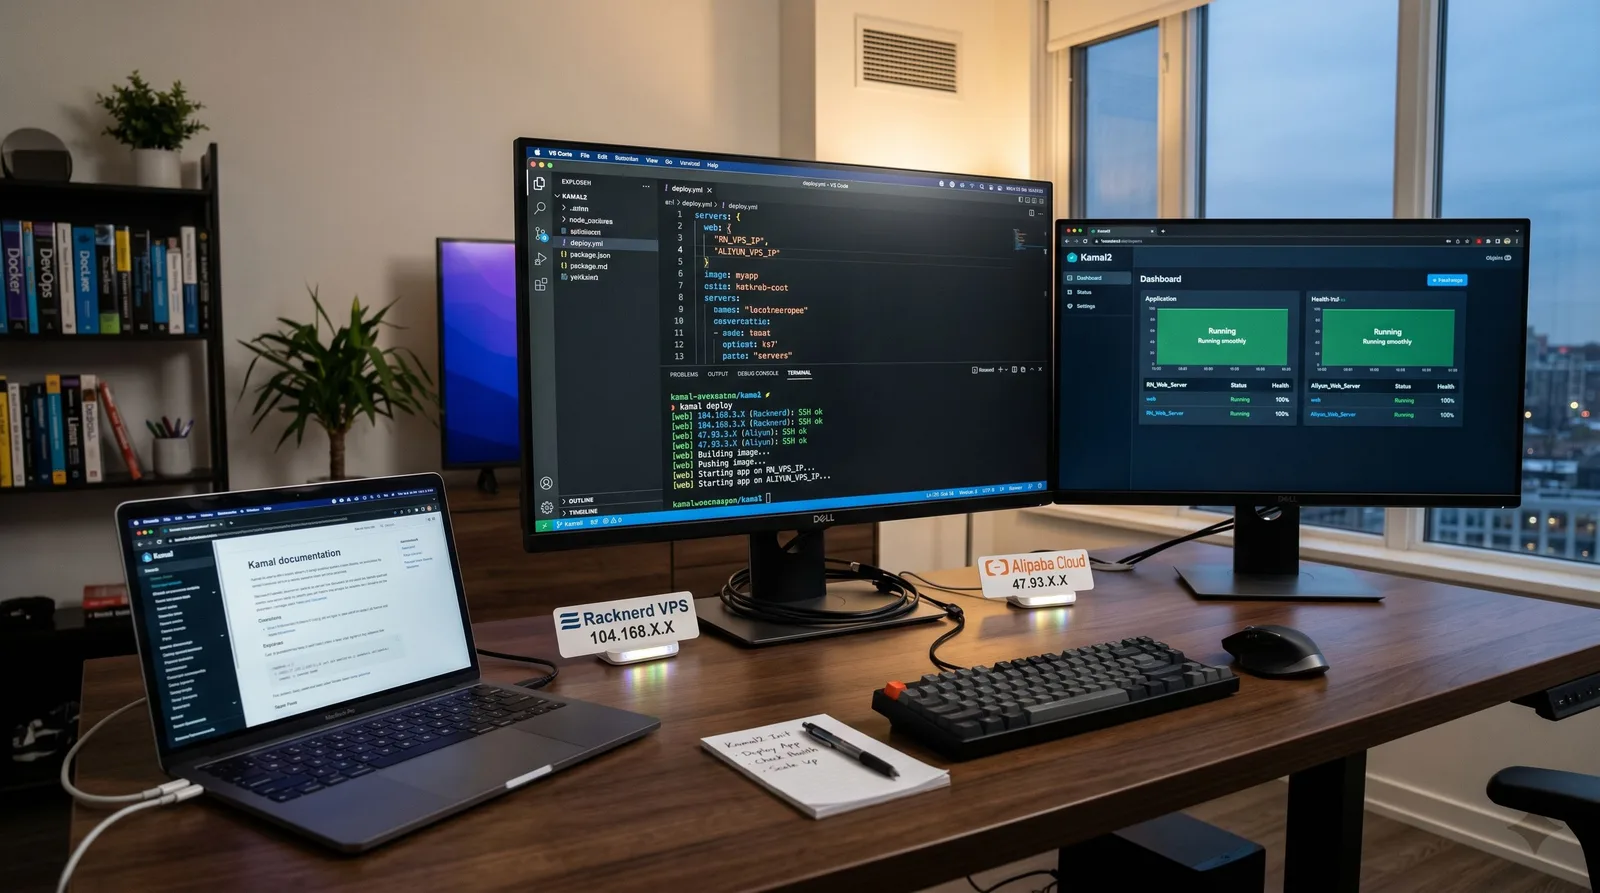
Now, the full-stack frameworks I mainly use are Next.js 16 and Rails 8. Through using Rails, I came across the officially recommended deployment tool Kamal. I usually use it to deploy projects on my own servers and Alibaba Cloud servers. It's very handy and simple, so now I want to introduce the concept and basic usage of Kamal2 to everyone.
This article won't dive into overly complex topics from the start. Instead, I want to first clarify the core of Kamal2: what it is, what it can do for us, how to get started with the basics, and what the most common operations are. Finally, I'll give a Next.js use case to help you apply the earlier concepts to a specific project.
What is Kamal2
To put it in one sentence, Kamal2 is a tool that **completes application deployment via SSH + Docker**. It doesn't provide a full platform like Heroku, nor is it a heavyweight orchestration system like Kubernetes; it's more like packaging the task of "deploying a set of Docker containers" into a set of repeatable commands and configurations.
The core idea of Kamal is actually straightforward:
There is a standard
Dockerfilelocally.Use
config/deploy.ymlto describe deployment targets and image information.Connect to the server via SSH and prepare the Docker environment on the server.
Build the image locally and push it to the image registry, then have the server pull and run it.
Use
kamal-proxyto handle ports 80 and 443, and switch traffic after the new container passes health checks.
This is also what I like about Kamal. It doesn't introduce too many extra abstractions; you roughly know what it's doing, so it's easier to troubleshoot when problems occur.
What scenarios is Kamal2 suitable for
I think Kamal is particularly suitable for the following situations:
You are already packaging your application with Docker.
You have one or several of your own Linux servers.
You want the deployment process to be as simple as possible and don't want to maintain a complex platform.
You want Rails, Next.js, or even other web services to use the same deployment method.
In other words, Kamal doesn't "replace Docker" for you, but helps make Docker deployment more convenient.
First understand a few basic concepts
Before officially starting, I recommend remembering the most important concepts in Kamal.
config/deploy.yml
This is Kamal's main configuration file, and deployment configurations are read from here. You can think of it as the "instructions for this deployment": the service name, image name, server list, image registry, environment variables, builder, proxy, etc., are all written here.
.kamal/secrets
This is the default location for secrets files; Kamal reads sensitive variables from here. For example, the image registry password, or Rails' RAILS_MASTER_KEY, are usually not hardcoded in deploy.yml but injected through .kamal/secrets.
kamal setup
This is the most important command for the first deployment. The documentation clearly states that it connects to the server, installs Docker (if not present), logs into the image registry, builds the image, pushes the image, pulls the image, starts kamal-proxy, starts new containers, and switches traffic after GET /up returns 200 OK.
kamal deploy
This is the most common command for subsequent releases. After the initial setup runs successfully, subsequent deployments usually use kamal deploy.
How to install Kamal2
If you already have a Ruby environment locally, the most direct way to install is:
gem install kamalThis is the standard installation method given in the official documentation. If you don't have Ruby, you can also run the Dockerized Kamal, but the official documentation clearly mentions that this method has some limitations, so for beginners I recommend using the gem installation.
After installation, you can check the version:
kamal versionInitialize a project
After entering your project directory, run:
kamal initThis command initializes the basic files needed by Kamal, the most important being config/deploy.yml and .kamal/secrets.
If your project already has a Dockerfile, then you already have a key prerequisite. Kamal's deployment process by default builds the image based on the standard Dockerfile in the project root directory.
Minimum viable configuration
I recommend starting with a very small config/deploy.yml. The minimum example from the official documentation looks like this:
service: myapp
image: your-registry-user/myapp

servers:
  - 203.0.113.10

registry:
  username: your-registry-user
  password:
    - KAMAL_REGISTRY_PASSWORD

builder:
  arch: amd64

env:
  secret:
    - AUTH_SECRET
In this configuration, the items most worth understanding first are:
service: Required, used as the container name prefix.image: The image name, which will ultimately be pushed to the registry.servers: The list of target machines for deployment.registry: The image registry configuration.env.secret: Environment variables that need to be read from the secrets file.builder.arch: The build architecture; the documentation example directly usesamd64.
At this stage, don't pursue a complete configuration; it's more important to ensure the basic pipeline can run.
Configure secrets
Next, prepare .kamal/secrets. For example:
KAMAL_REGISTRY_PASSWORD=$KAMAL_REGISTRY_PASSWORD
AUTH_SECRET=your-auth-secret
For Rails projects, the documentation example reads RAILS_MASTER_KEY from config/master.key. This is also one of the reasons Rails integrates naturally with Kamal: new Rails projects are relatively easy to connect to this deployment method.
What happens during the first deployment
Once the configuration and secrets are ready, you can run:
kamal setupThis command does many things, but you can think of it as "a complete first deployment". According to the official documentation, it at least performs these actions:
Connect to the server via SSH.
If the server lacks Docker, install it automatically.
Log into the image registry locally and remotely.
Build the image using the Dockerfile in the project root directory.
Push the image to the registry.
Have the server pull the image.
Ensure
kamal-proxyworks on ports 80/443.Start new containers.
Wait for
GET /upto return200 OK.Switch traffic to the new containers.
Stop old containers, clean up unused images and stopped containers.
There is one very important small point here: **The health check defaults to GET /up**. So it's best if your application has such a lightweight health check endpoint, otherwise the new container might start but Kamal won't switch traffic to it.
Subsequent deployments are much simpler
After the initial setup succeeds, subsequent updates usually only require running:
kamal deployThe documentation clearly treats this as the subsequent deployment command. You can think of it as the "normal release entry point": rebuild the image, push, pull, start new containers, health check, switch traffic, stop old containers.
So from a usage experience perspective, the most comfortable thing about Kamal is: the first deployment requires a bit more preparation, but afterward it becomes very stable.
Common operations
For beginners, I think these commands are the most practical:
Initialize
kamal initGenerate basic deployment files.
First deployment
kamal setupGet the server, Docker, image, proxy, and application up and running for the first time.
Subsequent releases
kamal deployThe most commonly used command daily.
Multi-environment deployment
If you later start distinguishing between staging and production, Kamal supports specifying a destination with -d, for example:
kamal deploy -d stagingThe official documentation states that at this point Kamal will merge config/deploy.staging.yml with the base configuration.
This capability is very practical, but if you're just getting started, you can know it exists and don't need to use it right away.
Why it fits well with Rails
New Rails 8 projects usually already come with a Dockerfile, and Kamal's deployment process revolves around the Dockerfile. Plus, the Rails ecosystem naturally accepts the Ruby gem toolchain, so coming across Kamal from Rails is almost a natural progression.
For myself, it was precisely because I first saw this method in a Rails project that I began to seriously consider it as a long-term viable deployment solution.
A Next.js getting started use case
Finally, let me give an example closer to my daily work: if I want to deploy a Next.js project with Kamal, I usually turn it into a standard Docker application and then hand it over to Kamal for release.
Step 1: Make Next.js output as standalone
The Next.js documentation states that after enabling output: 'standalone', the build output generates .next/standalone, which contains the minimum files needed for deployment and a server.js. This is very suitable for Docker deployment because it doesn't require moving the entire development environment in as-is.
In next.config.js, you can write:
/** @type {import('next').NextConfig} */
const nextConfig = {
  output: 'standalone',
}

module.exports = nextConfig
Note that the Next.js documentation mentions that running with output: 'standalone' is more suitable for directly using the generated server.js rather than continuing to use next start.
Step 2: Prepare the Dockerfile
A simple Next.js Dockerfile can look like this:
FROM node:22-alpine AS deps
WORKDIR /app
COPY package.json package-lock.json ./
RUN npm ci

FROM node:22-alpine AS builder
WORKDIR /app
COPY --from=deps /app/node_modules ./node_modules
COPY . .
RUN npm run build

FROM node:22-alpine AS runner
WORKDIR /app
ENV NODE_ENV=production
COPY --from=builder /app/.next/standalone ./
COPY --from=builder /app/public ./public
COPY --from=builder /app/.next/static ./.next/static
EXPOSE 3000
CMD ["node", "server.js"]
The key here isn't Docker techniques themselves, but the mindset: **First make Next.js a standard, runnable container, then let Kamal take over deployment.**
Step 3: Write the Kamal configuration
For example:
service: my-next-app
image: your-registry-user/my-next-app

servers:
  - 203.0.113.10

registry:
  username: your-registry-user
  password:
    - KAMAL_REGISTRY_PASSWORD

builder:
  arch: amd64

env:
  clear:
    PORT: 3000
    NODE_ENV: production
The logic of this configuration is very simple:
Kamal knows what the service name is.
Kamal knows where the image should be pushed.
Kamal knows which server to deploy to.
After the container starts, the app listens on port 3000, and the proxy handles external traffic.
Step 4: Add a health check endpoint
Because Kamal defaults to checking GET /up, I'll add a very simple route in Next.js. For example, under App Router:
export async function GET() {
  return Response.json({ ok: true })
}
Place it in, for example, app/up/route.ts, so that /up returns a simple success response. The lighter this endpoint, the better; its purpose is simply to tell Kamal: the container is ready to accept traffic.
Step 5: Deploy
Finally, return to Kamal's standard workflow:
kamal setupSubsequent updates:
kamal deployIf this workflow runs stably in a Next.js project, you'll find that Kamal doesn't really care if you're using Rails; what it truly cares about is **whether you can provide a standard Docker image and a web service that can be health-checked.**
Let's stop here for now
If you, like me, encountered Kamal through Rails 8 and then gradually moved this approach to a Next.js 16 project, then the positioning of Kamal2 is actually easy to understand: it's not a platform, but a tool that brings order to self-hosted Docker deployments.
For the beginner stage, mastering these is enough:
Install Kamal.
Initialize the configuration files.
Understand
deploy.ymland.kamal/secrets.Know how to use
kamal setupfor the first deployment.Know how to use
kamal deployfor subsequent updates.Know that the health check defaults to
GET /up.
Once these things run smoothly, you can then explore multi-environment, accessories, hooks, and complex proxy configurations more naturally.
Follow on Google
Add HeyBinyang as a preferred source on Google
If you'd like to keep finding my updates through Google, you can mark this site as a preferred source and make it easier to spot in relevant reading flows.
SHARE
Share
Share this article.